Micro Greens!
Tiny Greens, HUGE Potential: Your Guide to Growing Microgreens at Home
Introduction:
Forget those sad, wilted sprouts in the grocery store! We're diving headfirst into the exciting world of microgreens – tiny but mighty flavor bombs packed with nutrients and ridiculously easy to grow. Whether you're a seasoned gardener or a total newbie, this blog will equip you with everything you need to transform your kitchen counter into a thriving microgreen farm. Get ready to impress your friends, elevate your meals, and discover the joy of growing your own fresh produce, even if you live in a shoebox apartment!
Section 1:
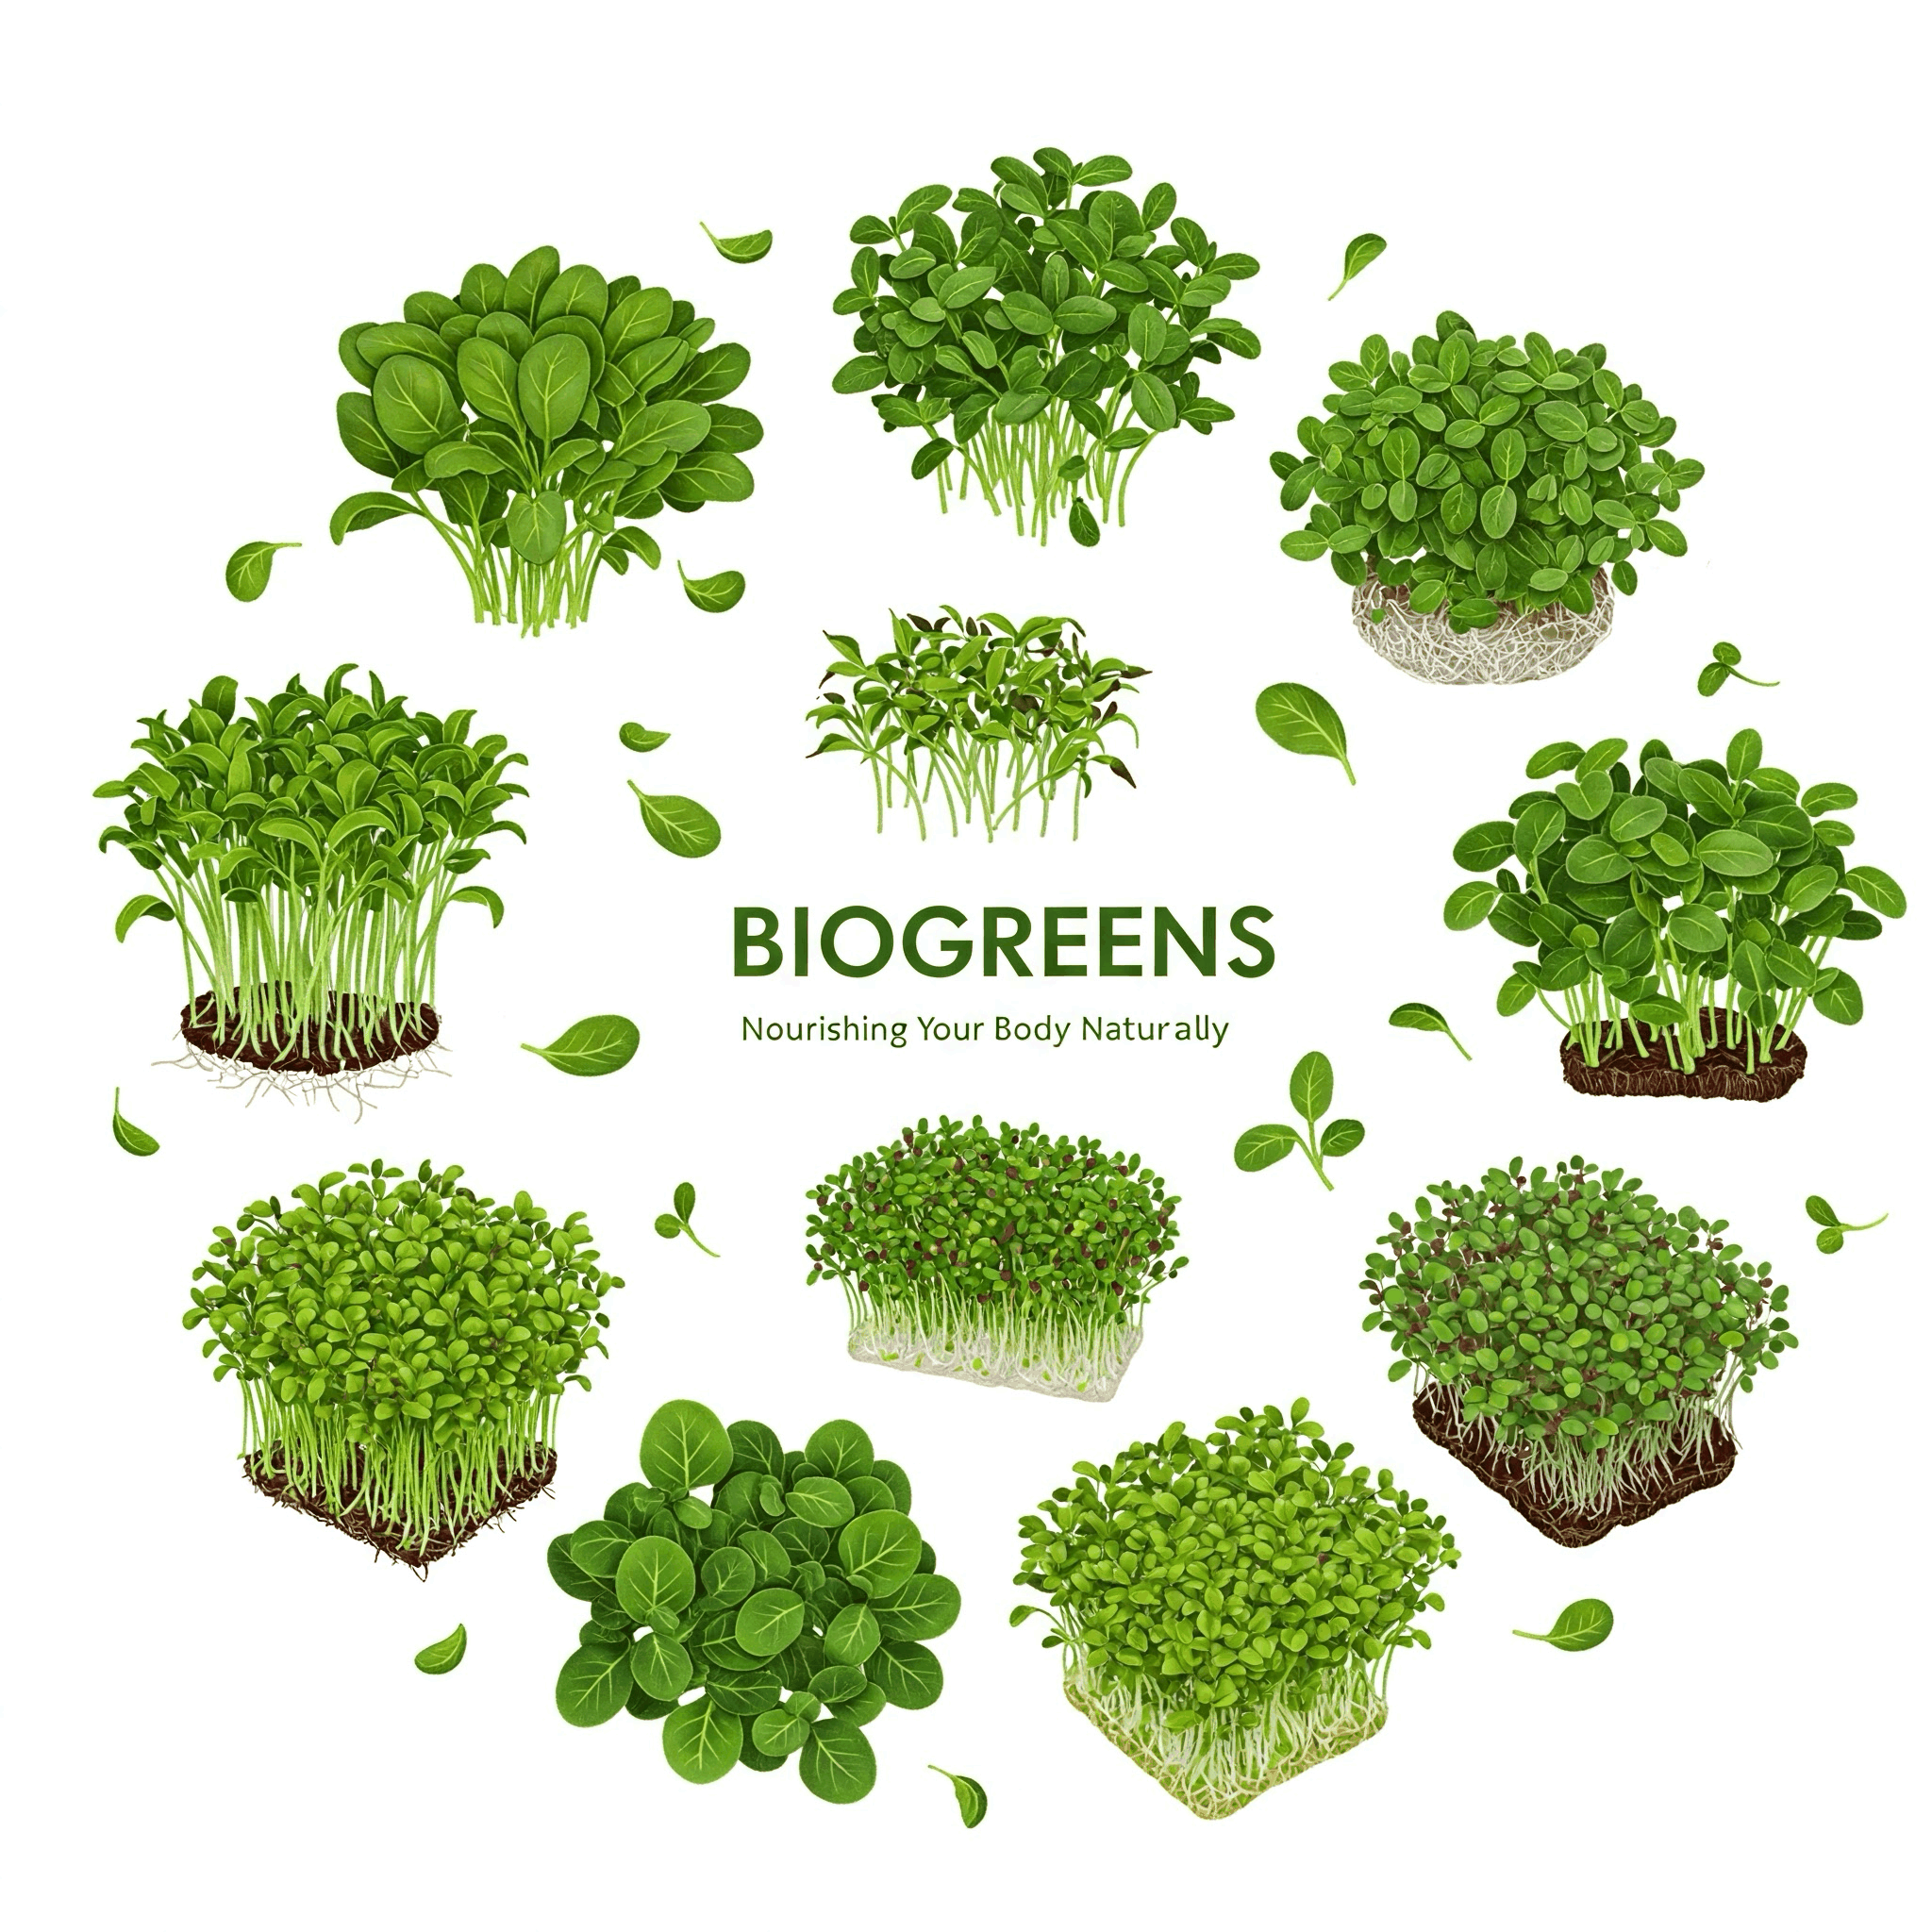
The Champions of the Microgreen World: Best Varieties to Grow (and Their Flavor Profiles & Growth Times)
Not all microgreens are created equal! Some are mild and delicate, while others pack a peppery punch. Here's a rundown of some top contenders, including their flavor profiles and approximate growing times:
• Radish (2-5 days): Zesty, peppery, and fast-growing! A perfect beginner-friendly option. Flavor: Spicy, pungent.
• Pea (6-10 days): Sweet, crunchy, and slightly nutty. Adds a delightful touch to salads and sandwiches. Flavor: Sweet, nutty, pea-like.
• Sunflower (6-10 days): Nutty, crunchy, and oh-so-satisfying. Great for adding texture and flavor. Flavor: Nutty, slightly earthy.
• Broccoli (7-12 days): Mild, slightly cabbage-like flavor. A nutritional powerhouse! Flavor: Mild, cabbage-like, slightly bitter.
• Clover (5-8 days): Delicate, sweet, and slightly nutty. A beautiful and versatile microgreen. Flavor: Sweet, mild, slightly nutty.
• Arugula (5-8 days): Peppery and slightly bitter. Adds a bold flavor to any dish. Flavor: Peppery, pungent, slightly bitter.
• Beet (6-10 days): Earthy and vibrant pink! Adds color and a subtle sweetness. Flavor: Earthy, sweet, slightly tangy.
• Kale (6-10 days): Slightly bitter and peppery, similar to mature kale but milder. Flavor: Earthy, slightly bitter, peppery.
• Mustard (4-7 days): Spicy and pungent, adding a kick to dishes. Flavor: Spicy, pungent, mustard-like.
Section 2:
Your Microgreen Toolkit: What You'll Need (and Where to Get It)
Growing microgreens doesn't require a lot of fancy equipment. Here's the essential gear, along with some tips on where to find it:
• Growing Trays: Shallow trays with drainage holes are ideal. You can even repurpose takeout containers! Where to find it: Garden supply stores, online retailers (Amazon, etc.), even some grocery stores.
• Growing Medium: Coco coir, seed starting mix, or even organic potting soil work well. Where to find it: Garden centers, hydroponic stores, online retailers.
• Seeds: Choose high-quality, untreated seeds specifically for microgreens. Where to find it: Seed suppliers specializing in microgreens (Johnny's Selected Seeds, True Leaf Market, etc.), some garden centers. Tip: Look for certified organic seeds for the healthiest microgreens.
• Spray Bottle: For misting your little sprouts. Where to find it: Any store that sells household supplies.
• Grow Light (Optional but Recommended): If you don't have a sunny spot, a grow light will ensure healthy growth and faster harvests. Where to find it: Grow light suppliers, hydroponic stores, online retailers. Tip: LED grow lights are energy-efficient and effective.
• Scissors: For harvesting your microgreens. Where to find it: Any store that sells household or gardening tools.
Section 3:
From Seed to Salad: The Growing Process (Detailed Steps & Troubleshooting)
1. Prep Your Trays: Fill your trays with your chosen growing medium, leaving about an inch of space at the top. Moisten the medium thoroughly.
2. Sow Your Seeds: Sprinkle the seeds evenly over the soil. Don't overcrowd them, but ensure good coverage for a dense harvest. Tip: Refer to seed packet instructions for specific seeding density recommendations.
3. Watering Magic: Gently mist the seeds with water. Keep the growing medium consistently moist but not soggy. Troubleshooting: If your medium dries out quickly, mist more frequently or consider using a humidity dome. If it's too wet, improve drainage.
4. Dark Period (Germination): Cover the trays with a lid or another tray to create darkness for the first few days to encourage germination. This helps the seeds focus their energy on root development. Tip: Check daily for germination. Once sprouts appear, move to the next step.
5. Light it Up (Growth): Once the seeds sprout, remove the cover and provide light. Natural sunlight is great, but a grow light will give you more consistent results, especially during winter or in low-light conditions. Tip: Rotate your trays regularly to ensure even growth.
6. Harvest Time: When your microgreens have developed their first set of true leaves (cotyledons), they're ready to harvest! Use sharp scissors to snip the stems just above the growing medium. Tip: Harvest your microgreens just before you plan to use them for the best flavor and freshness.
(Image: A time-lapse series of photos showing the microgreen growing process with captions detailing each stage. Perhaps include a photo of common problems, like mold or leggy growth, and their solutions.)
Section 4: The Microgreen Math: How Much Can You Grow and How Much Will It Cost? (More Detailed Calculations & Profit Potential)
Let's get down to the nitty-gritty! Here's a more detailed look at what you can expect, including potential profit margins:
• Yield: A 10x20 inch tray can yield approximately 4-8 ounces of microgreens per harvest, depending on the variety. Some varieties, like sunflower, can yield even more.
• Seed Cost: A packet of high-quality microgreen seeds can range from $3-$5 and will likely be enough for multiple trays (often 5-10 or more, depending on seed size and tray density).
• Growing Medium: A bag of coco coir or seed starting mix will cost around $10-$15 and will last for many grows (dozens, even).
• Electricity (if using a grow light): This will depend on your light and usage, but it's usually minimal. Let's estimate $1-$2 per month for a small LED grow light running a few hours a day.
• Water: Minimal cost.
Example Calculation (Radish Microgreens - with multiple harvests):
• You plant radish seeds in a 10x20 tray.
• You harvest 6 ounces of radish microgreens every 7-10 days.
• You sell them at your local farmers market for $20 per ounce.
• Revenue (per harvest): 6 ounces x $20/ounce = $120
• Cost (per harvest - seeds are minimal, mostly medium and tiny electricity): Approximately $1
• Profit (per harvest): $120 - $1 = $119
• Profit (per month - assuming 3 harvests): $119 x 3 = $357
(Disclaimer: These are just estimates. Your actual yield, profit, and harvest frequency will vary depending on your setup, growing conditions, variety, and market prices. Selling direct to consumers will usually yield the highest profit margins.)
(Image: A graphic illustrating the microgreen math example, perhaps with a chart showing potential profit over time.)
Section 5: Microgreen Mania: Culinary Uses and Health Benefits (Nutritional Data & Recipe Ideas)
Microgreens are not just pretty; they're incredibly nutritious and versatile in the kitchen! They often contain higher concentrations of vitamins and minerals than their mature counterparts.
• Salads: Add a burst of flavor and texture to your salads.
• Sandwiches & Wraps: Elevate your lunchtime creations.
• Garnishes: Make your dishes look restaurant-worthy.
• Smoothies: Boost your smoothie with a dose of vitamins and minerals.
• Stir-fries: Add a fresh and crunchy element.
• Juices:
#
#